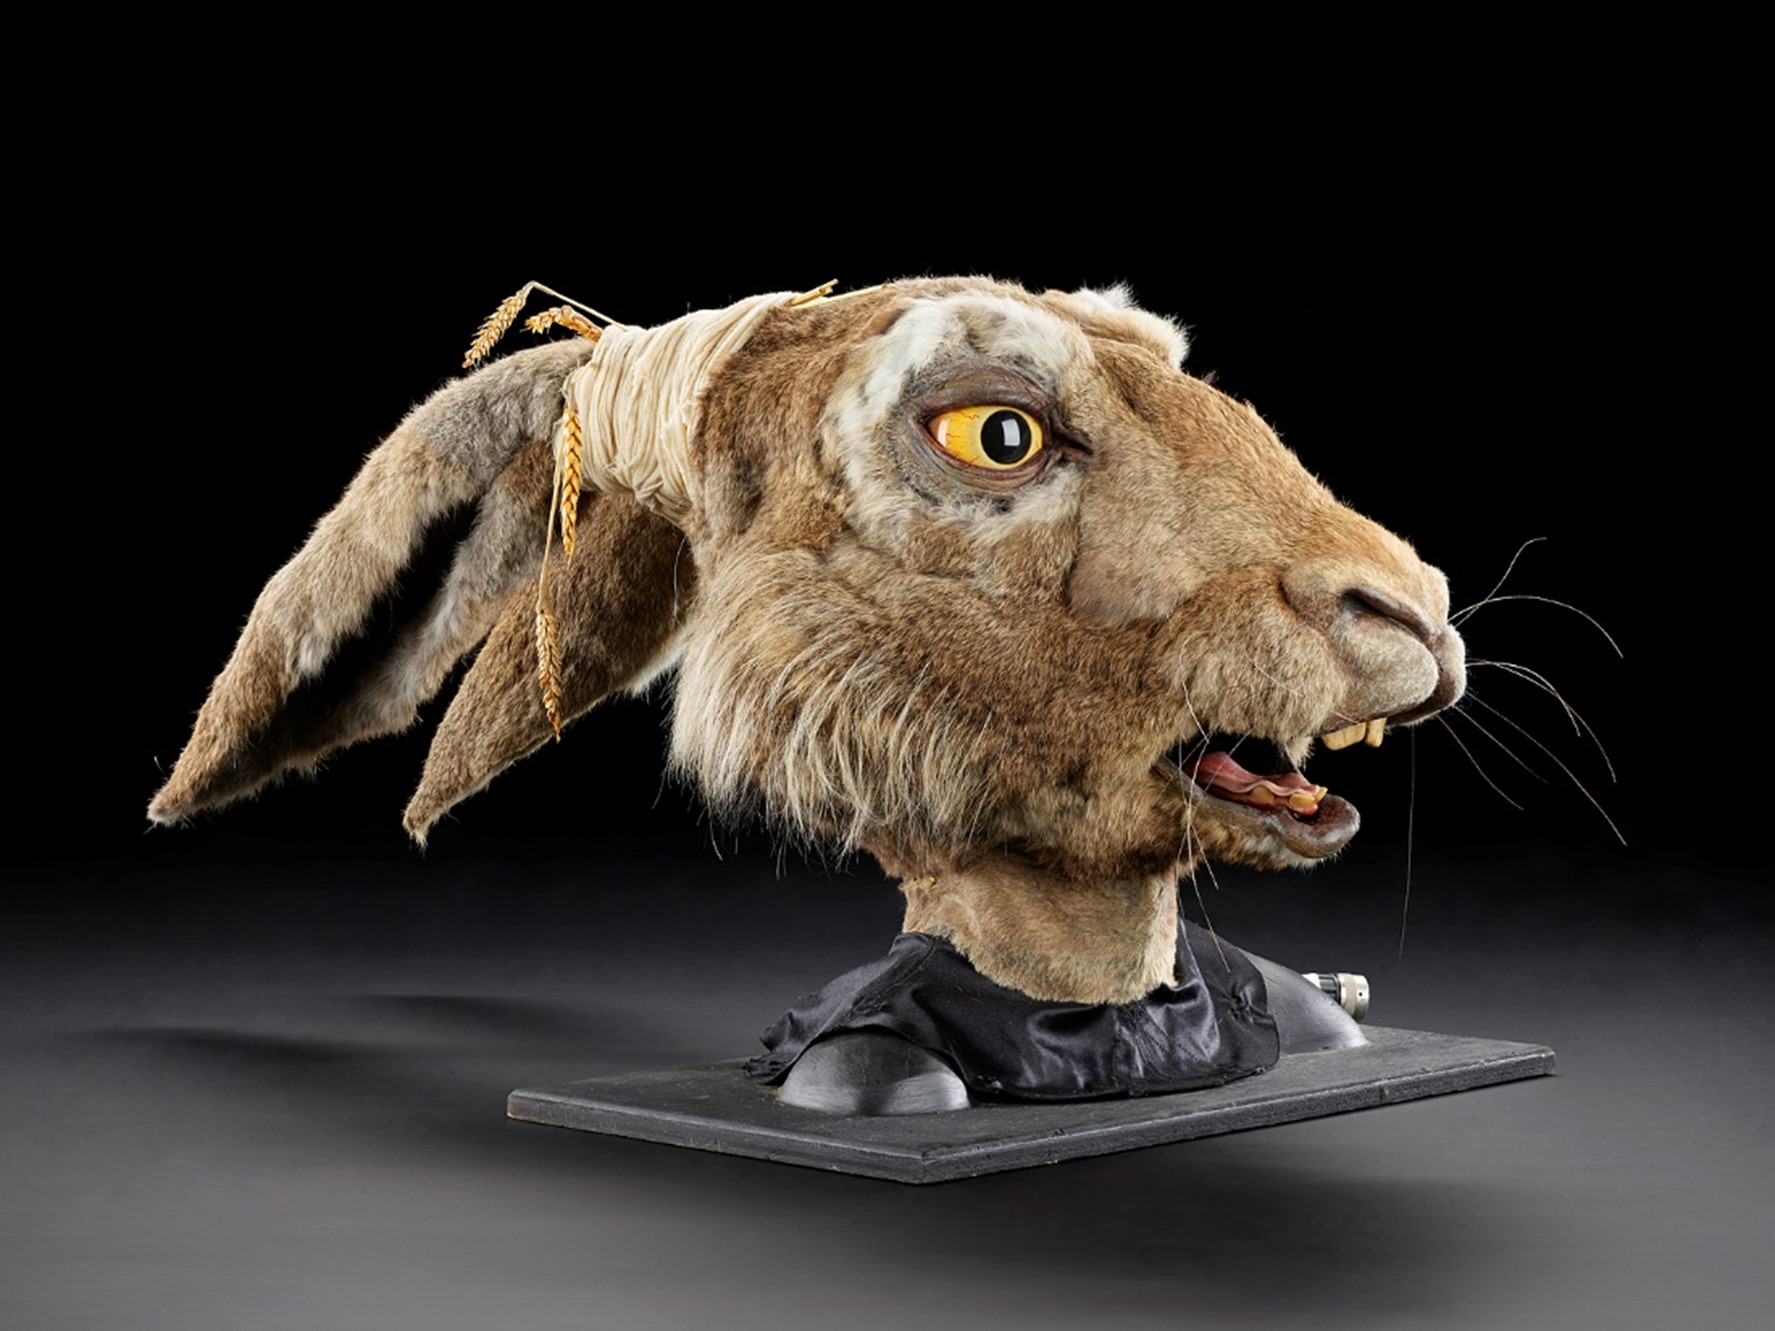
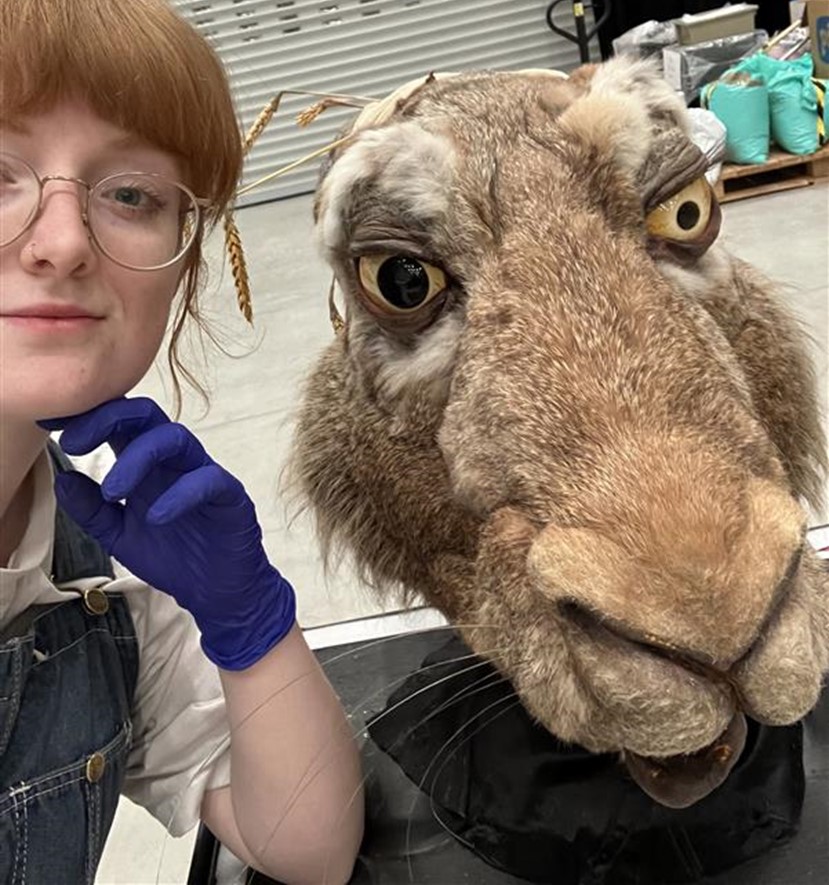
My name is Martha, and I am a conservator at the National Collections Centre, which houses the majority of the Science Museum Group’s collection. I have worked on a wide range of objects for the National Science and Media Museum’s new Sound and Vision galleries, and while each of them is interesting and engaging, I can’t deny that I have a strong favourite: the Mad March Hare, an animatronic from Jim Henson’s Creature Studio. Isn’t he a beauty!
For this installment of Blog from the Basement, I am going to discuss the history of the March Hare and share the treatment process I undertook to ensure that he was ready to be displayed. Come down the conservation rabbit hole with me into a world of adhesives, colour-matching, and custom-made eyewear…

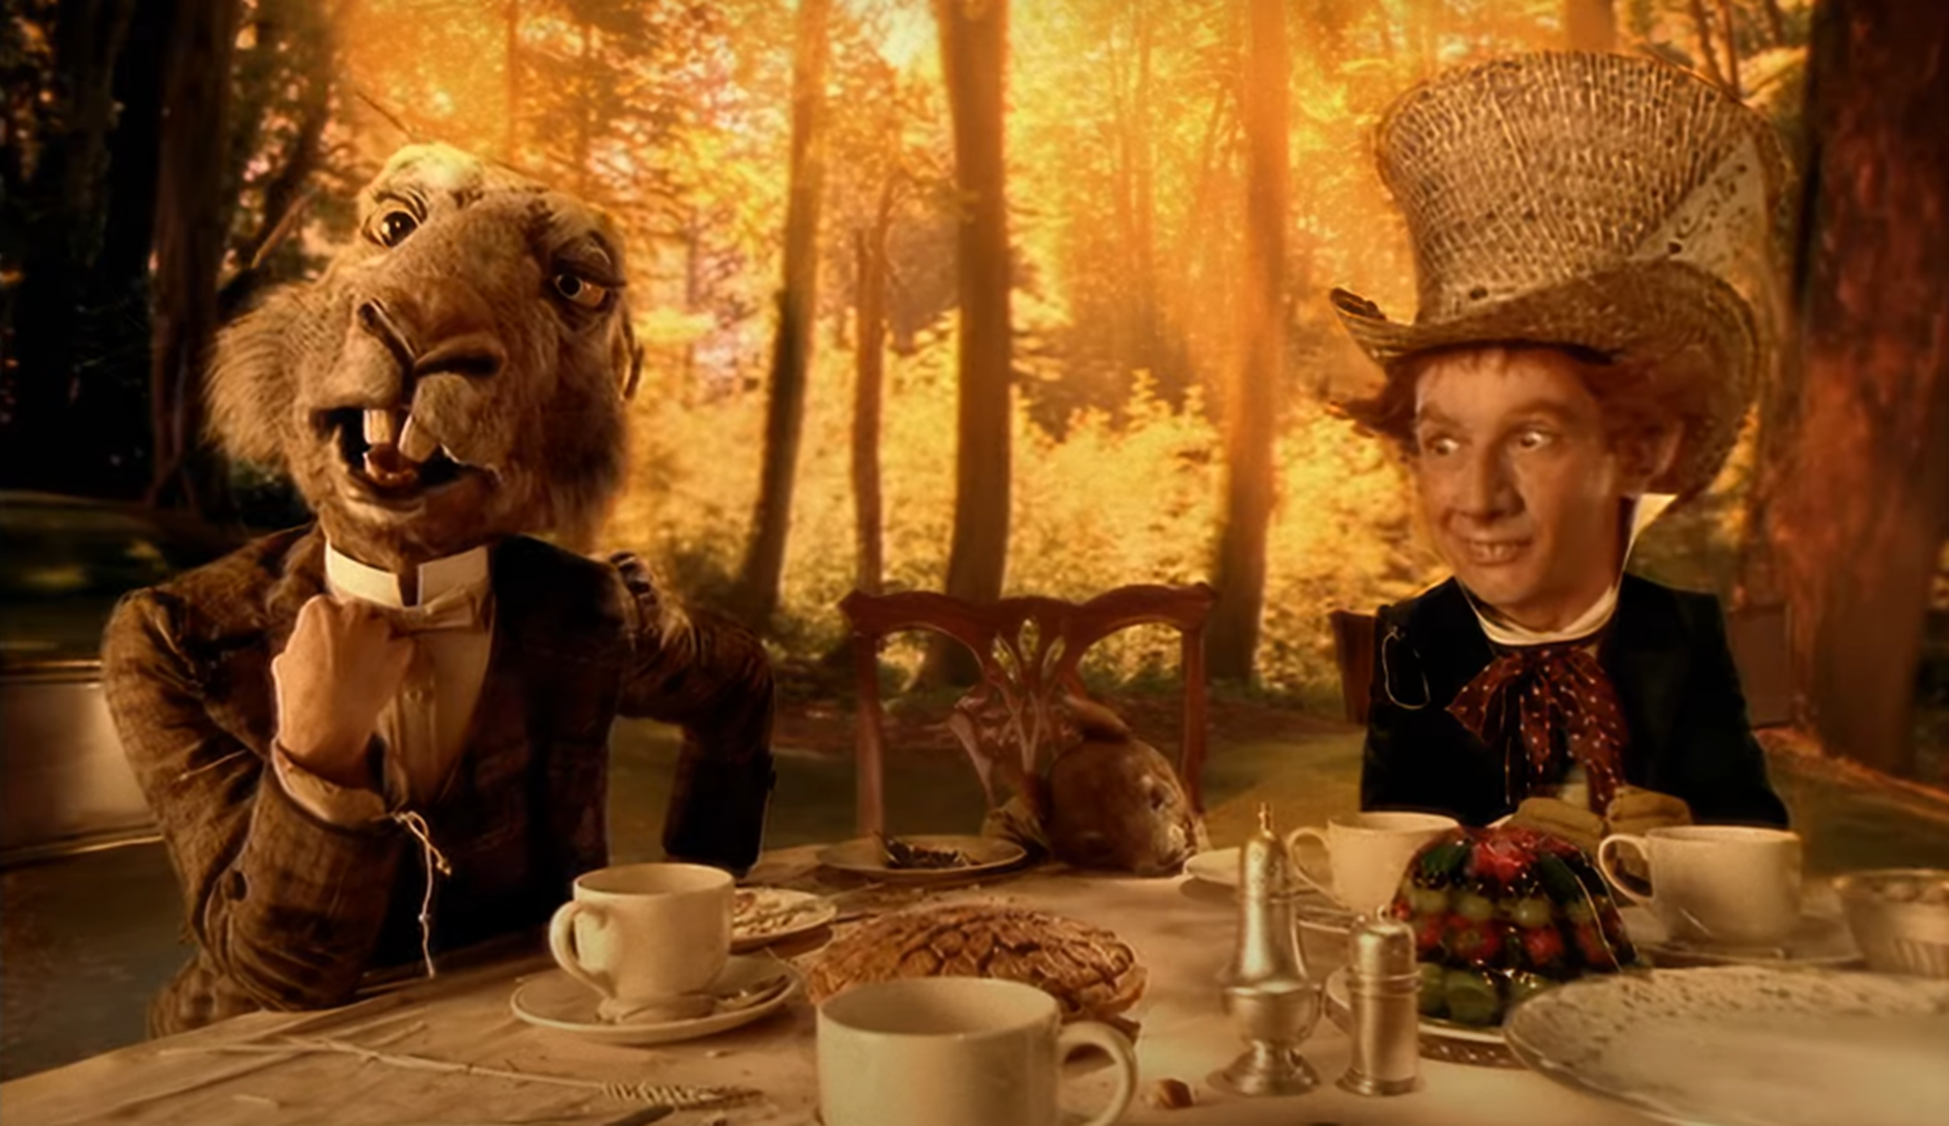
The March Hare was made by Jim Henson’s Creature Shop for the 1999 movie adaptation of Alice in Wonderland. The fully animatronic head was worn by actor Francis Wright during the tea party scene, in which the hare is seen sharing a cup of tea with the Mad Hatter. The hare’s features were controlled in real time by an operator behind the camera. Sensors attached to the eyes and lips would respond to commands from a control panel, allowing the operator to react to Wright’s movements and vocal cues. The result is intriguing but also somewhat terrifying – admittedly perfect for Alice in Wonderland.
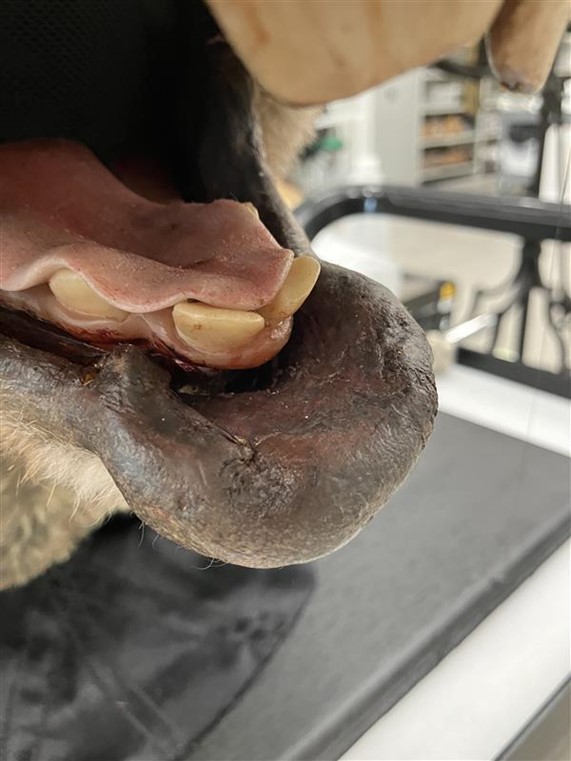
The head itself is composed of a fibreglass frame which is covered in a latex-like foam and genuine rabbit fur. My favourite aspect is the strip of textile holding the hare’s ears back and the stalks of wheat pinned into the material; it is a small detail, but it contributes greatly to the uniqueness and visual impact of the head. During my initial assessment of the hare, I determined that while the object was in good condition overall, there were several tears and losses in the latex foam which would require treatment. The areas of concern included the lower lip, left nostril, and the thin foam of the hare’s eyelids.
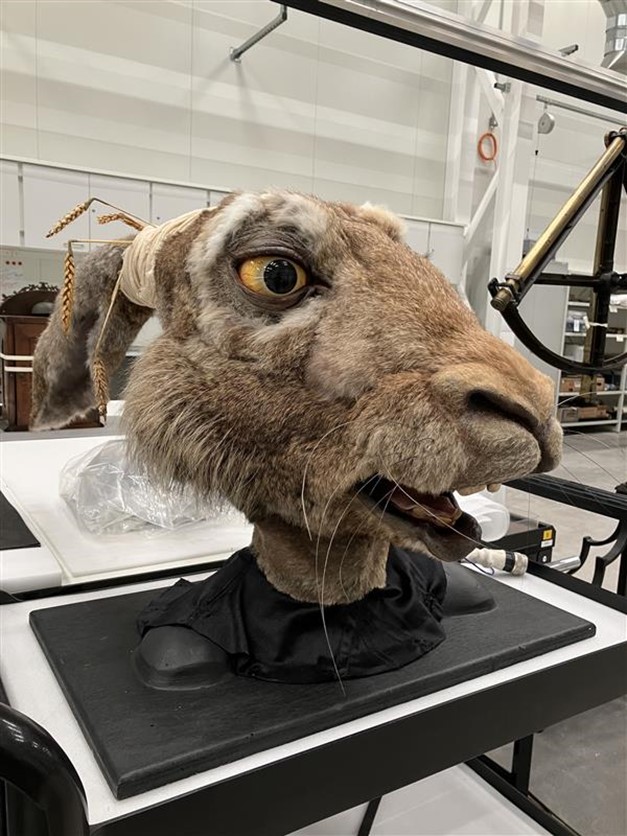
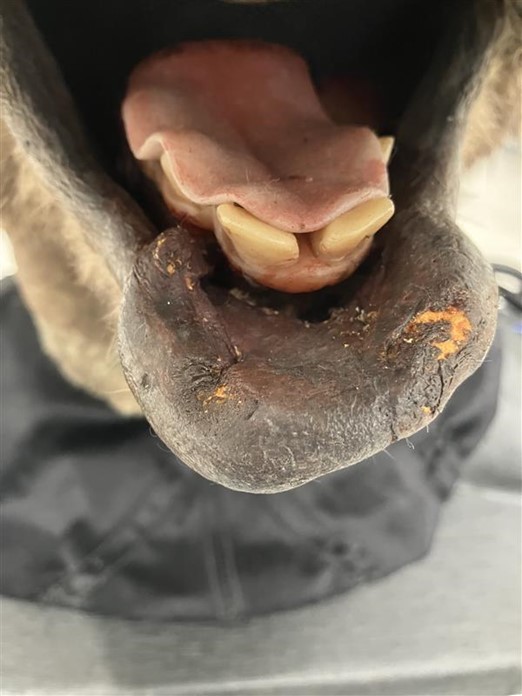
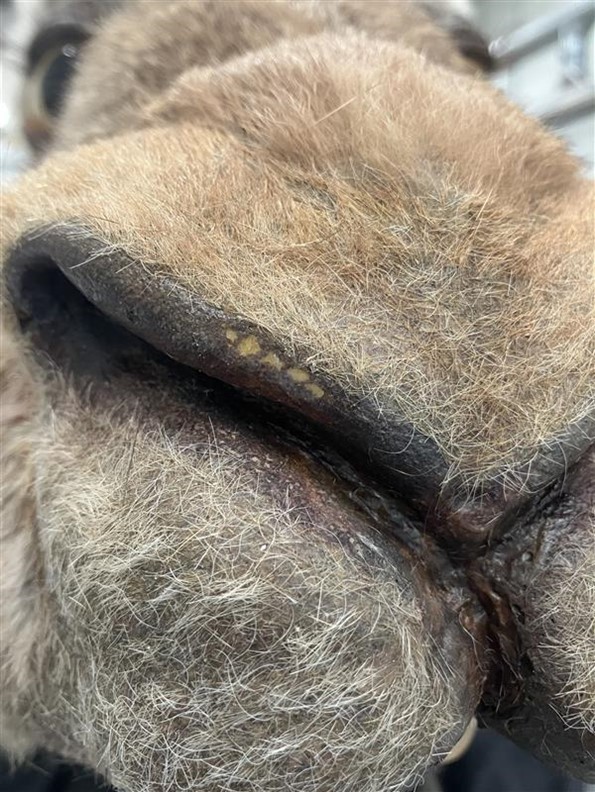
I began the treatment process with a quick surface clean using a brush and museum vacuum. While the hare’s fur was in great condition (and, importantly, very soft to the touch), he was shedding hair everywhere! Following this, I conducted numerous tests to establish the best method of repair for the latex foam. In conservation, we aim to use the same or similar materials when treating an object. As such, my initial plan was to coat the areas of loss with liquid latex and then colour match the repair to the surrounding area through the application of powder pigment or acrylic paint. My aim was to replicate the texture and colour of the latex foam, so that my repair matches seamlessly with the original material.
Unfortunately, I wasn’t happy with the initial results and decided to take a different approach. I made a paste using finely ripped Japanese tissue and Lascaux 498, a non-tacky adhesive with a long setting time. When ripped, Japanese tissue will become fibrous along its edges; this provided the textured appearance I was aiming for. I applied a layer of the paste over the damaged areas and infilled the patches on the nose and lower lip with acrylic paint. Colour matching can be a conservator’s worst nightmare, but it is an amazing feeling when you finally mix the perfect colour for your object.

I have greatly enjoyed treating the March Hare head – when viewed in person, the care and attention to detail that went into its creation is evident. I am glad to have contributed to its history and ongoing future. It was also great to have the head in our lab space at the NCC – staff and visitors alike were very enamoured by him! I did receive several complaints about his eyes, however, which are slightly alarming when viewed head-on. To combat this, I made the hare a pair of sunglasses out of conservation grade foam, which hid his eyes and had the added benefit of making him look super cool (in my opinion at least).

The Mad March Hare head will be displayed in the new Sound and Vision galleries, which open at the National Science and Media Museum in summer 2025. See you there!
The Sound and Vision Project is generously supported by The National Lottery Heritage Fund thanks to money raised by National Lottery players (Lead Supporter), Bradford 2025 UK City of Culture (Major Supporter), City of Bradford Metropolitan District Council (Associate Funder), DCMS/Wolfson Museums and Galleries Improvement Fund (Associate Funder).
Amazing work Martha, thanks for sharing.