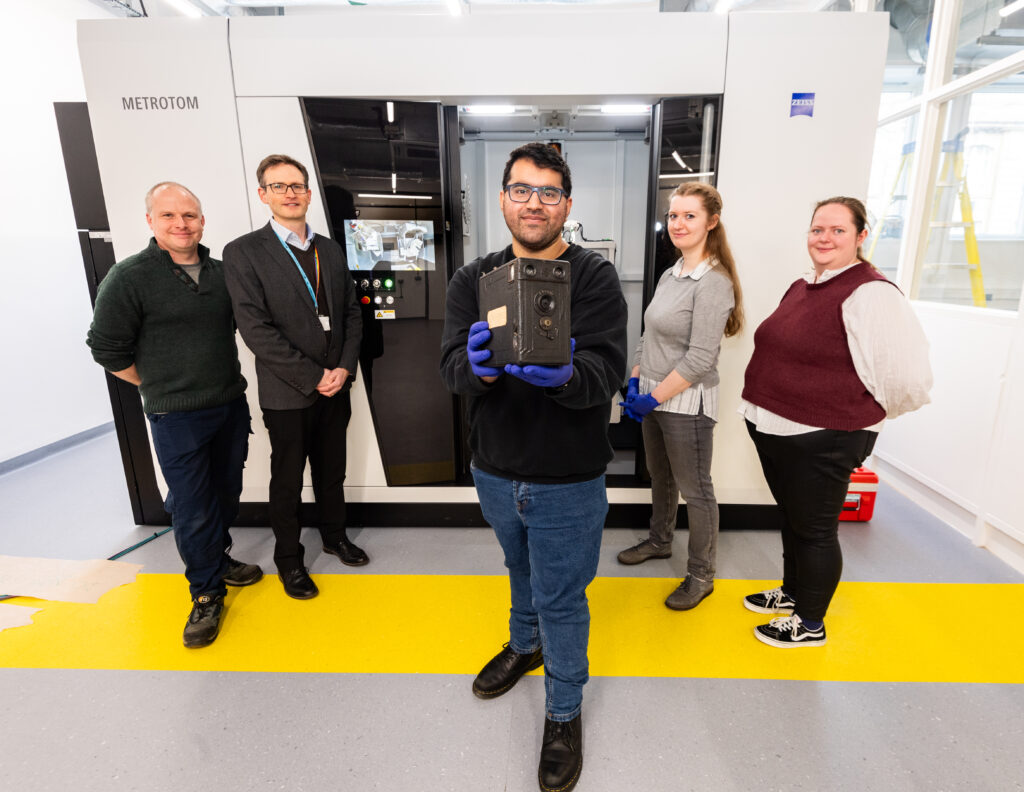
The museum was approached by the University of Bradford, who offered the use of their CT scanner to look inside some cameras to get a closer look at their inner workings. We decided to scan some of the cameras associated with the Cottingley fairy saga, as they are culturally important to the Bradford area.
The two cameras that were selected for scanning, the ‘Midg’ camera and the quarter-plate ‘Cameo’ camera, needed some conservation work to stabilise them before they could be transported across Bradford and handled for the imaging.
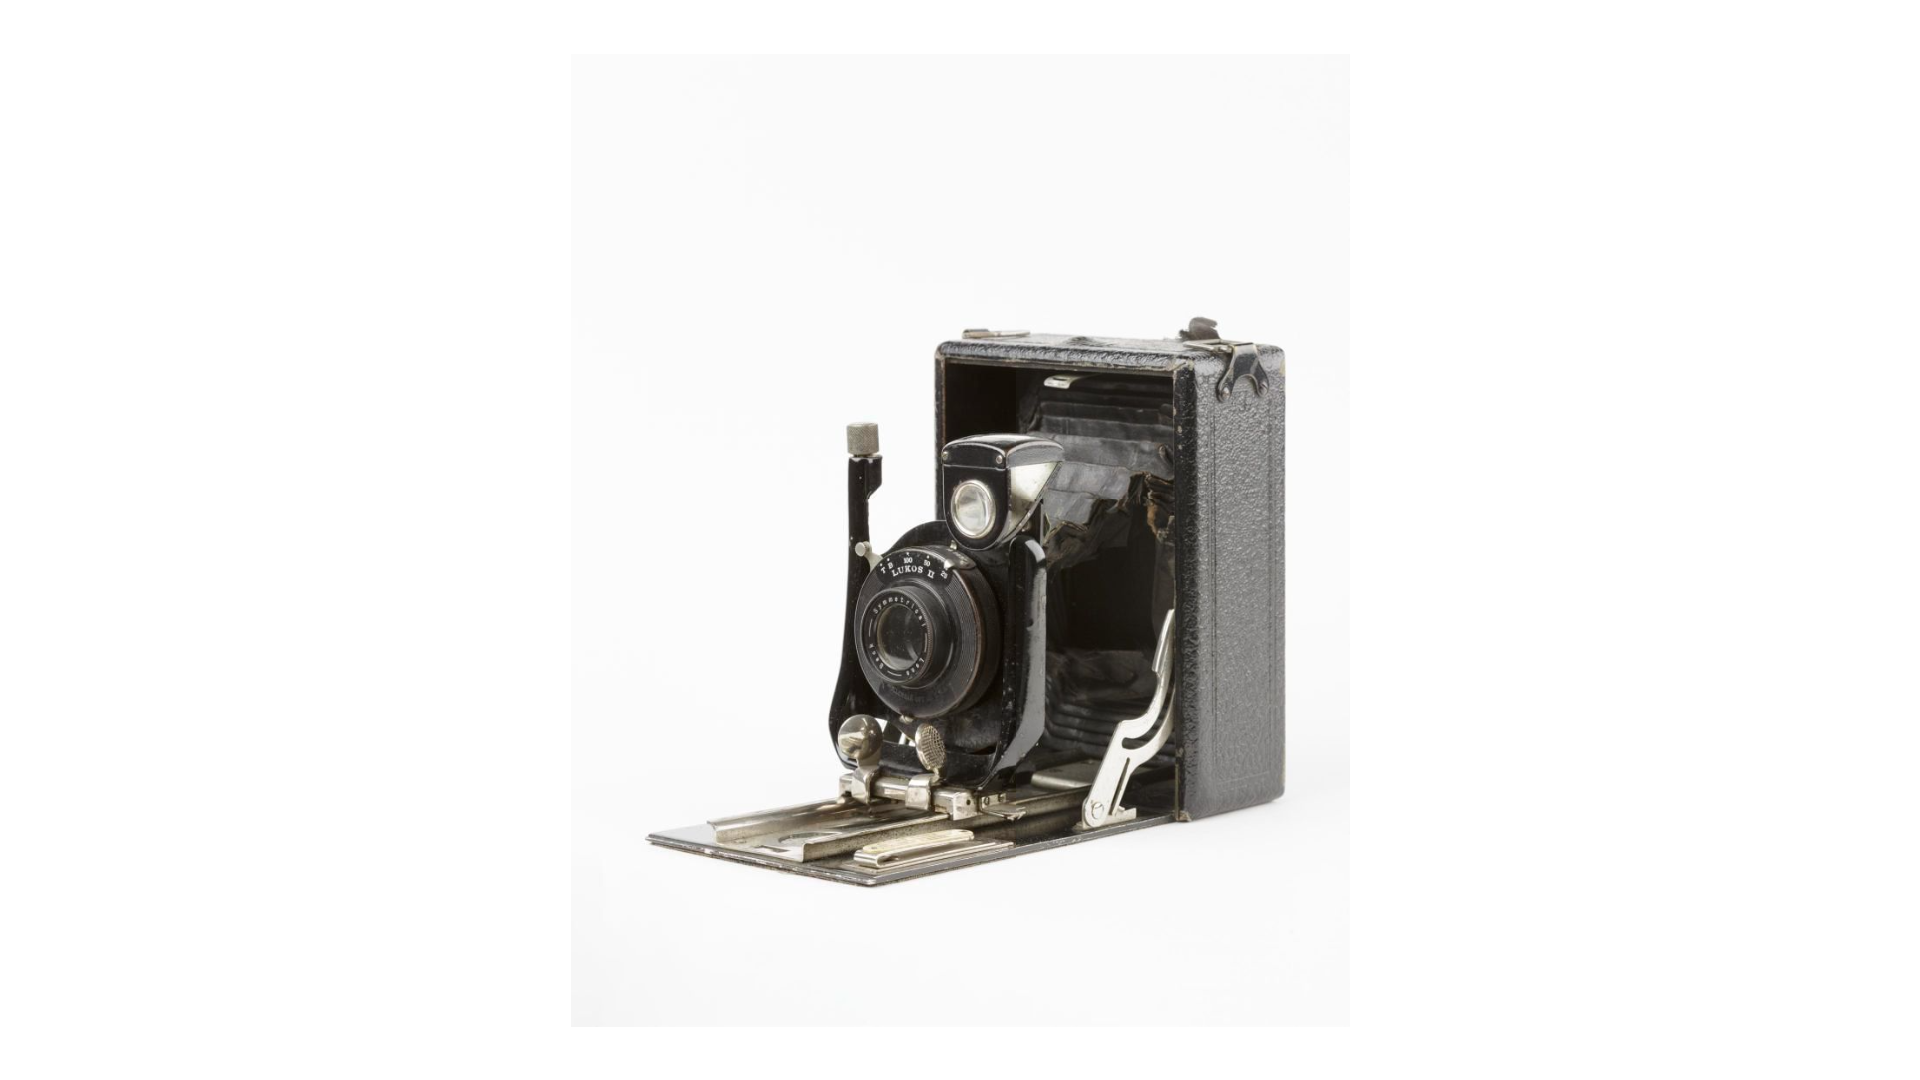
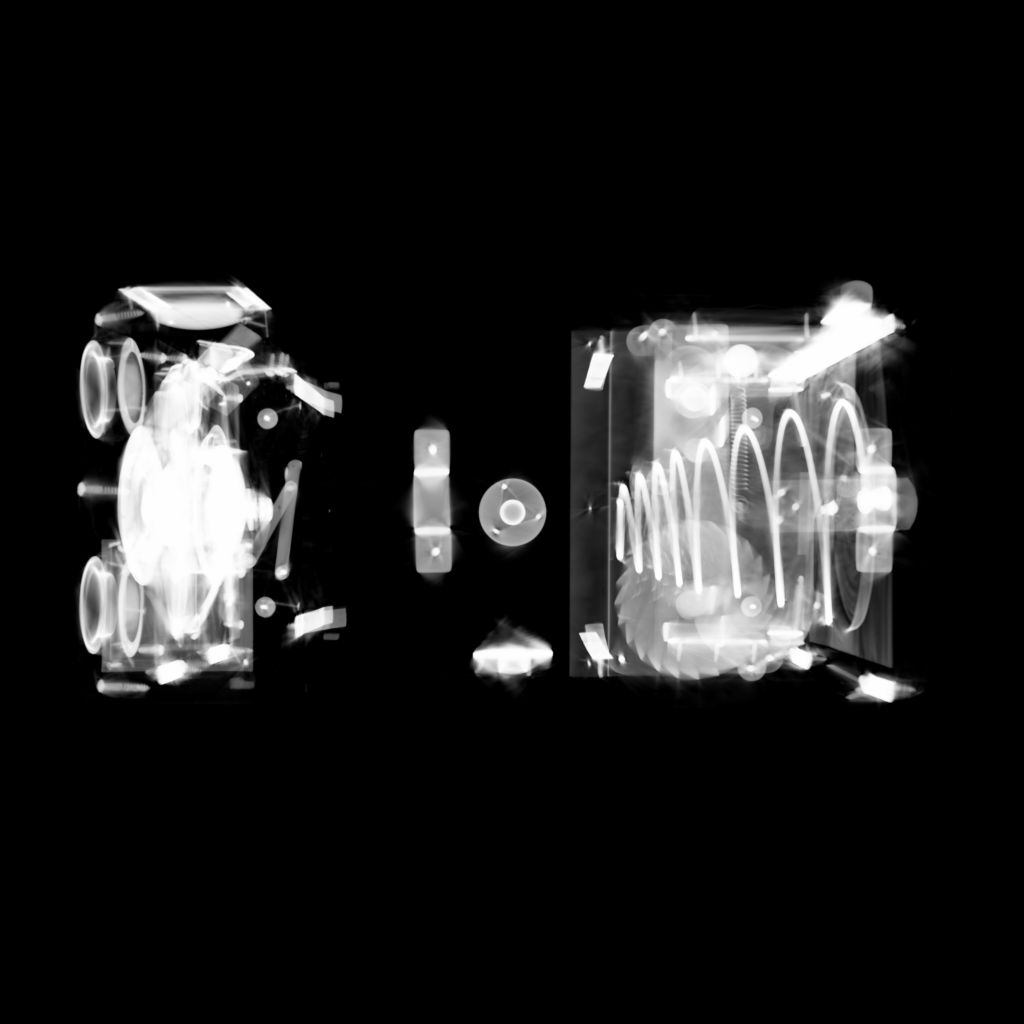
The quarter-plate ‘Cameo’ camera
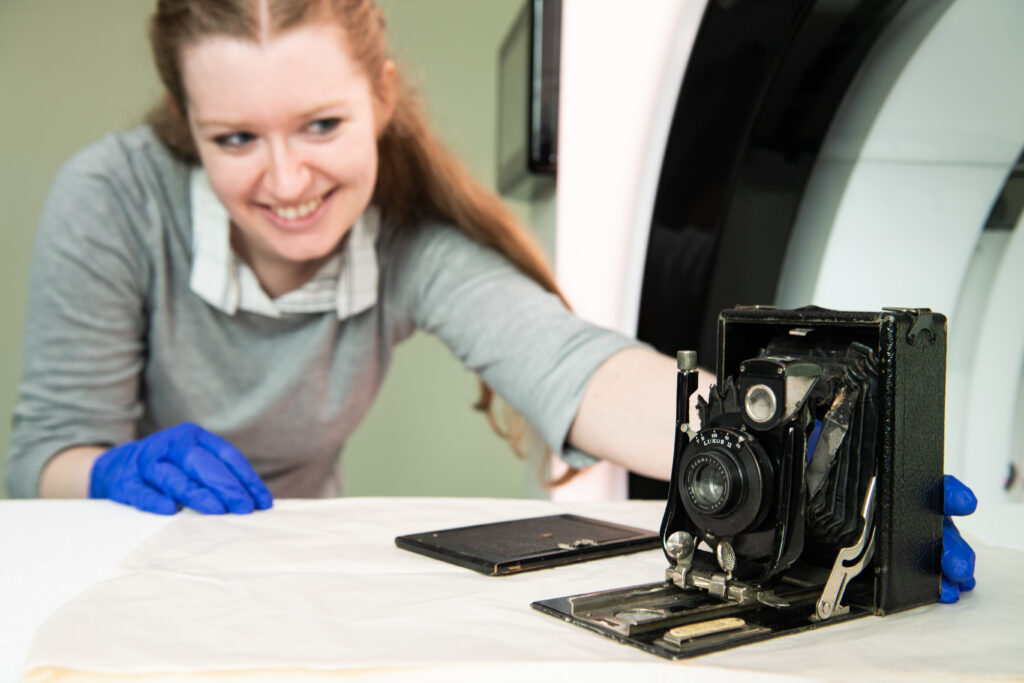
The ‘Cameo’ camera was the less straightforward of the two cameras and this was evident from the initial condition report. The coated canvas bellows had detached from the lens (visible in Figure 2) and there were many losses in the bellows. The fabric behind the door (the hood) had been mostly lost to time, leaving fragments of it sticking up at all angles.
Given the limits of the project and discussions with curators, it was decided to take a minimal approach to conservation, focusing on the reduction of further damage and the support of the bellows. As a result, I carefully cut strips of foam to slot into the bellows. This allowed the bellows to open up gently for the scanning, without putting much pressure on the delicate fabric, and closed up a great deal of the gap where the bellows had detached from the lens.
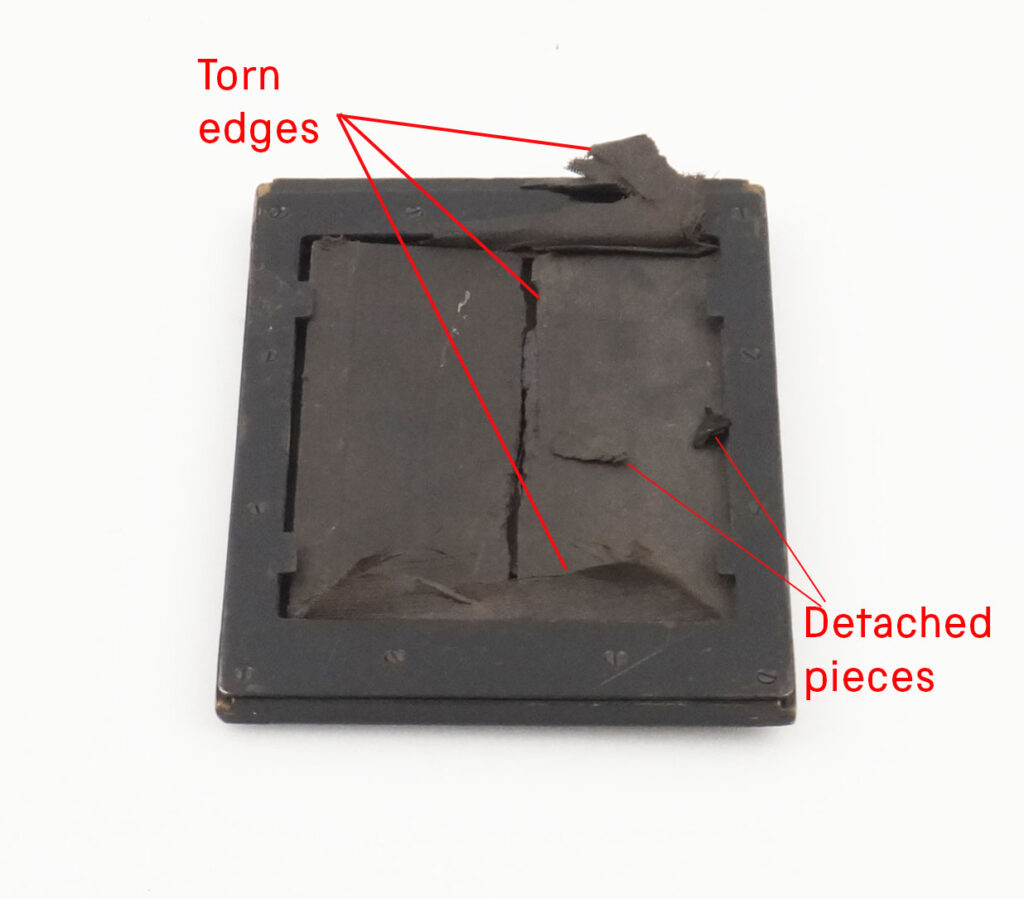
The hood was a trickier as it is made of a coated fabric which has torn and is now very fragile and brittle. This meant that I was reluctant to sew any supports onto the fabric, instead placing a piece of conservation grade plastic sheet over the hood. This holds the loose pieces in place and prevents the ragged edges from catching on the slot mechanism when the hood attachment is returned to the main body of the camera.
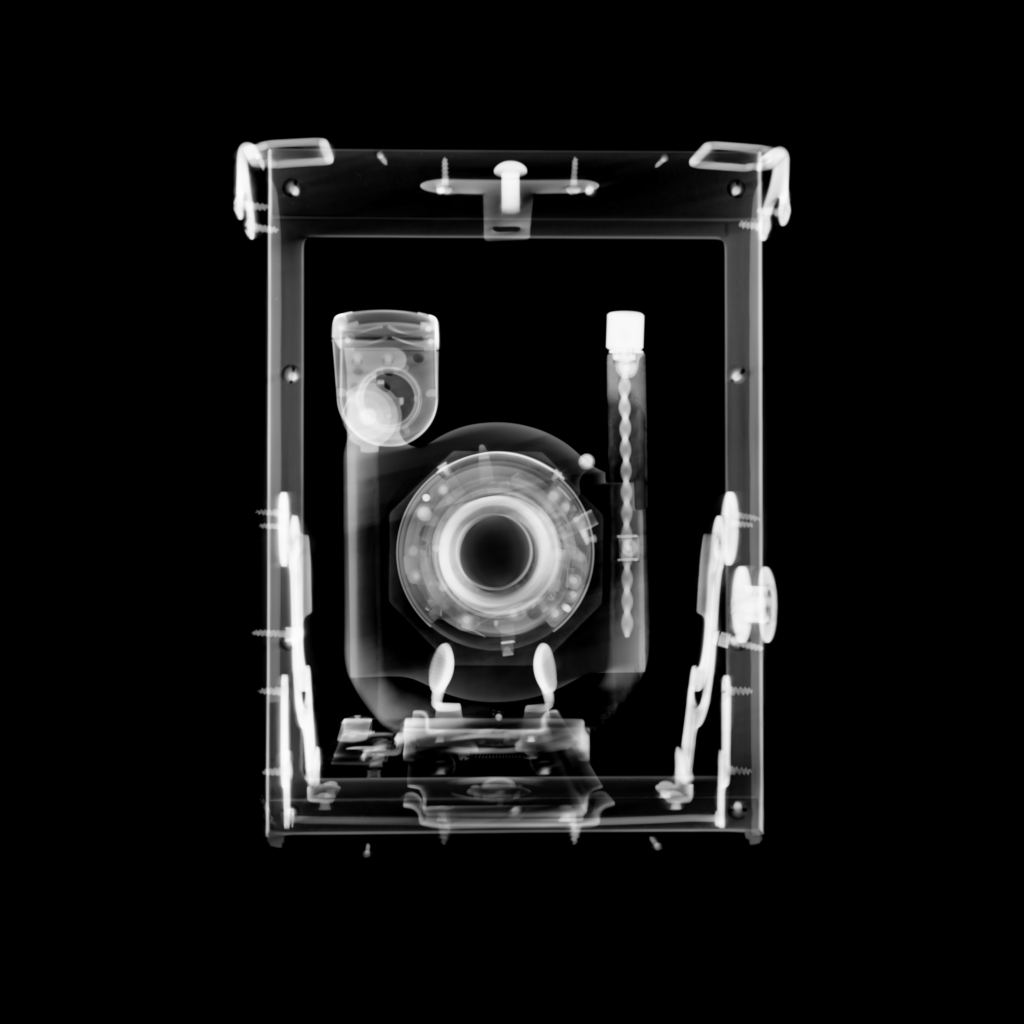
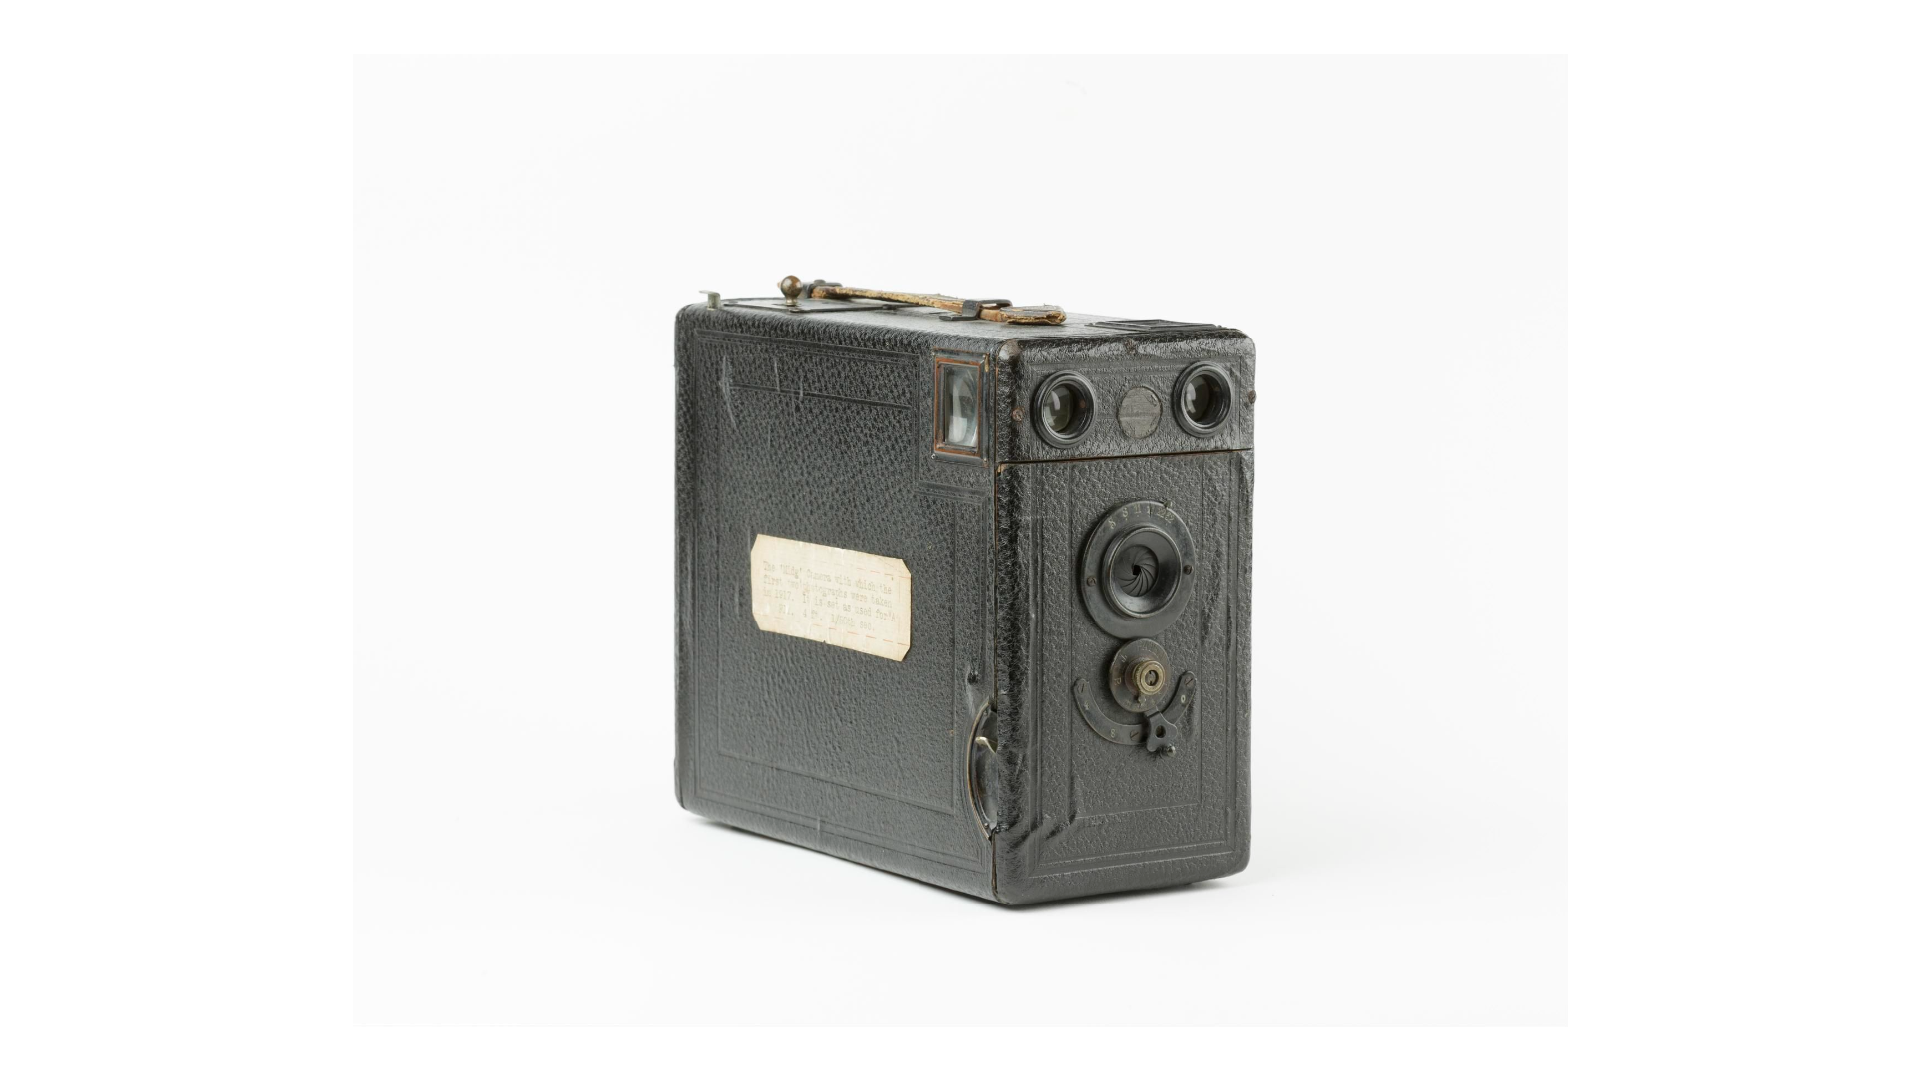
The ‘Midg’ camera
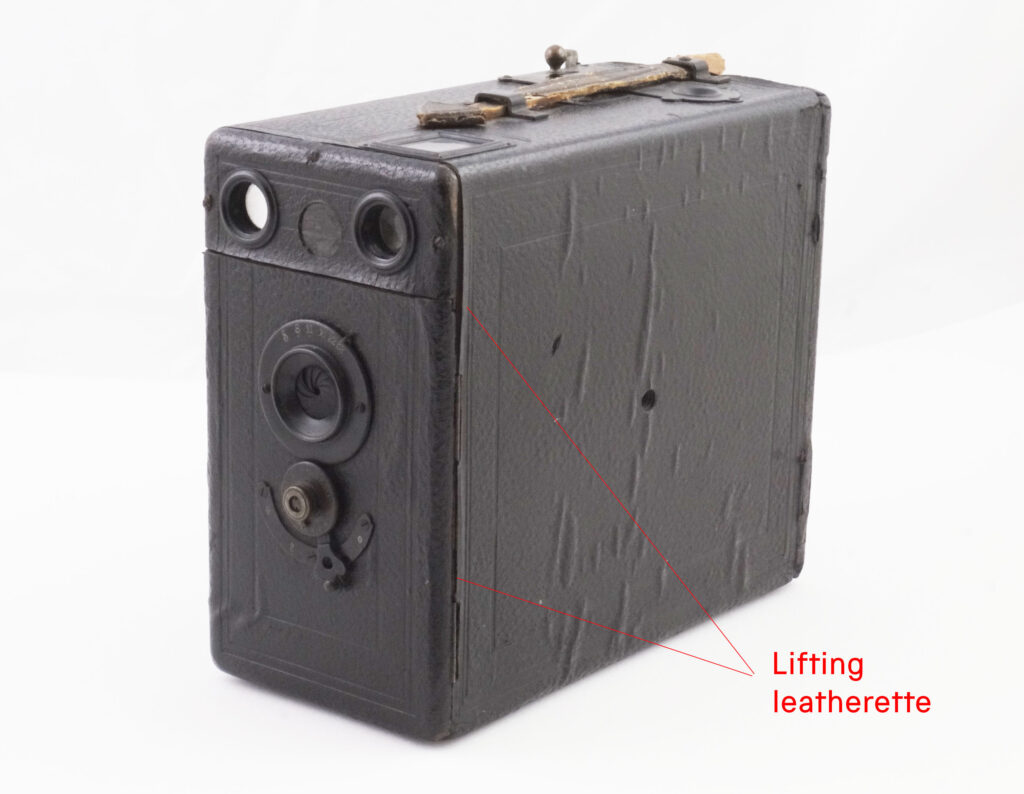
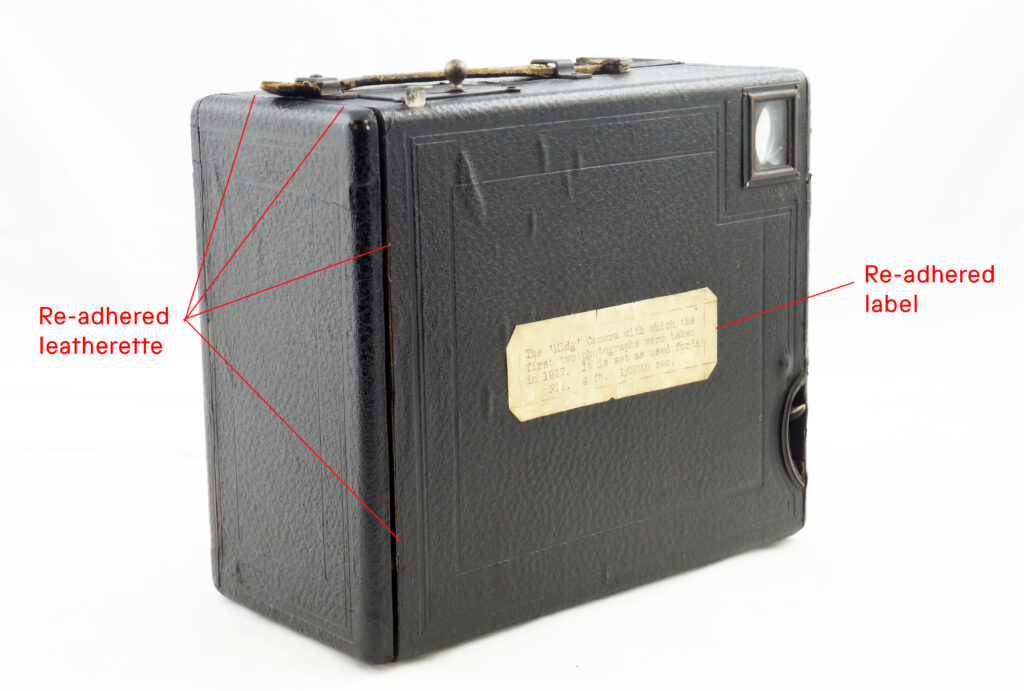
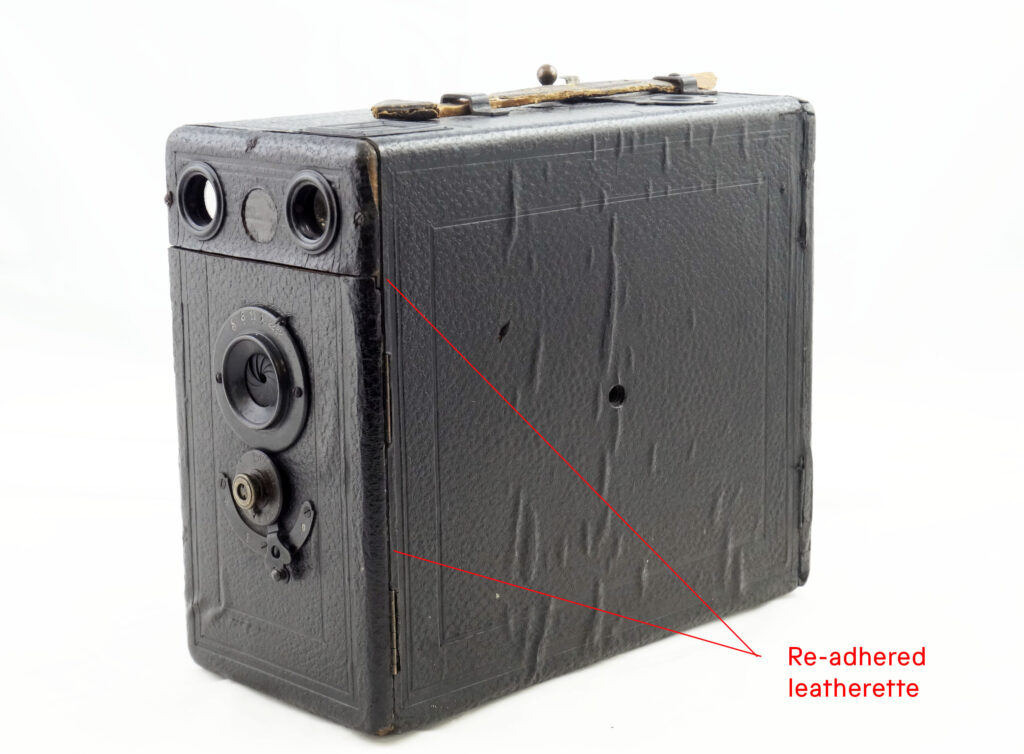
The completion of the new lab meant that the other camera, the ‘Midg’, was able to be conserved in our brand-new space. It was apparent upon examination that the lifting areas of the leatherette and paper label on the Midg camera would need re-adhering to reduce the likelihood of tears should they catch on something.
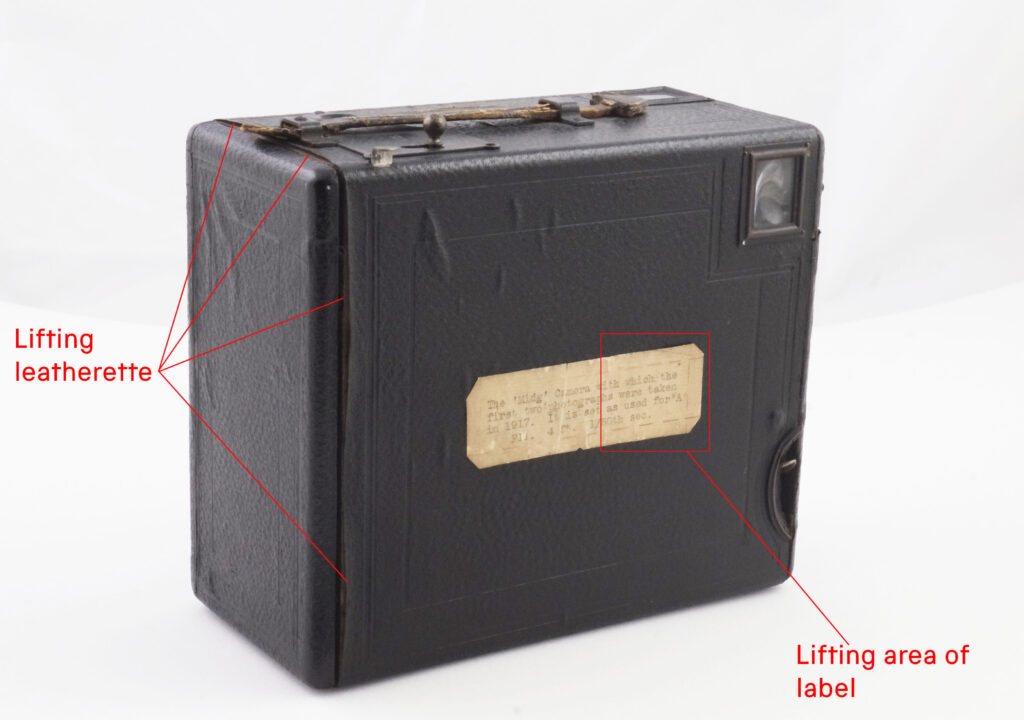
The first thing I did to facilitate this was to carefully clean the label with sponges and erasers to avoid consolidating the dirt with the application of the adhesive.
Once this was completed, I needed to confirm the material coating the camera was indeed leatherette, rather than real leather, in order to determine an appropriate adhesive for this task. After examining it for visible hair follicles, I concluded it was likely to be leatherette, and proceeded with the adhesive I had chosen, whose properties include reversibility—a key tenet of conservation.
I prepared the adhesive and applied small amounts to the frame of the camera, using weights to keep the leatherette and the frame together while it dried. The treatment was a success and both the lifting leatherette and label were re-adhered, ready for transport.
The next step saw them placed in a box, padded out with acid-free tissue and taken to the University of Bradford. The only thing left to do was to find out what secrets would be revealed with CT scanning.
Here are the results of the CT scanning: